4566 Buffer Castings
With its imminent out-shopping it was felt 4566 would look even better sporting a set of Dean style buffers. Only one pair was available so another pair would be required. To have a pattern made elsewhere would have absorbed far too many beer tokens so the pattern shop at Bridgnorth Loco Works were persuaded to make a pattern set from scratch from one of the existing buffer shanks.
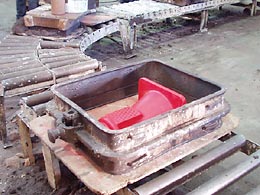
1: The half of the split pattern to form the drag is placed on a board and surrounded with a moulding flask.
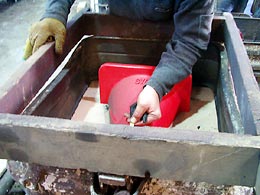
3: This 'half mould' is then inverted, the board removed and the upper half of the split pattern is located accurately on its lower partner.
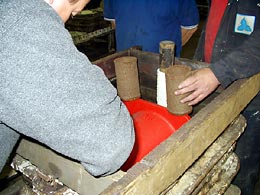
5: Provision will be made for the 'runner' and 'riser'. The runner is to allow the molten steel to enter the mould. The riser is allow the air to escape. In this case exothermic sleeves are being used to keep the puddle of steel in the runner and riser hot longer and thus ensure a complete fill as the molten steel cools and thus contracts.
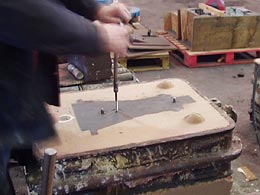
8: The two parts of the mould are separated and the pattern is withdrawn by screwing a tool into the lifting plate. The moulder is seen applying the threaded tool to the lifting plate between the two dowels. The dowels ensure the two halves of the pattern align accurately.
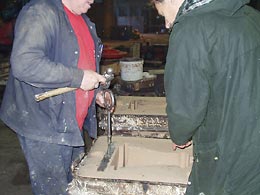
9: Final preparation of the mould is made before the core is accurately located within the mould supported on its core prints.
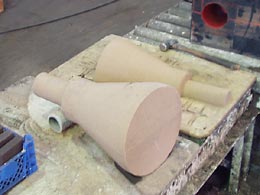
11: Again using sand mixed with binder the core is prepared. In this case the core is formed from two halves glued together. The join line of the two halves can be seen in this photograph.
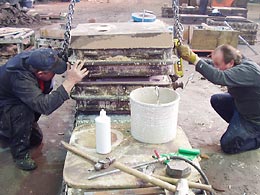
13: The two halves of the mould are brought together. A dowel and corresponding hole at each end of the two parts of the flask ensure the cope and drag align.
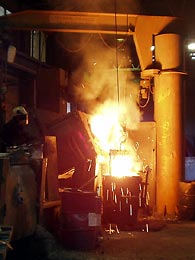
15: Pouring from the furnace to a crucible that will be taken to the mould by means of an overhead crane.
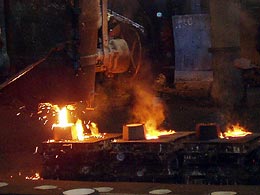
17: The filled moulds are now left to cool. With a casting this size the mould will be opened tomorrow. |
|
The following sequence shows the moulds and cores being prepared and (to the best of our knowledge) the first Dean buffers cast this century. The patterns and cores have been made by Gordon Woodruff. Bill Sharman took this series of photos showing the casting process at a Sheffield foundry, 7th November 2005 with captions from Brian Oldford.
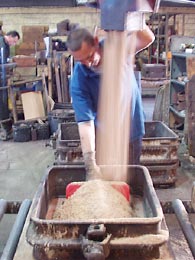
2: This is then filled with sand mixed with a binder. Care is taken to ensure no voids are included.
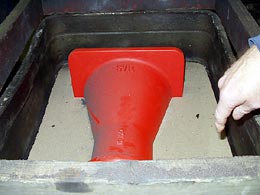
4: A parting agent (traditionally French chalk) will often be dusted over the area where the sand in the drag will contact the sand to be poured into the cope.
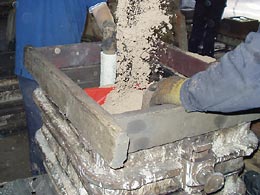
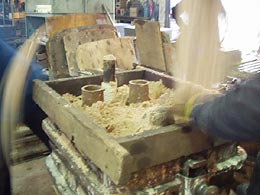
6&7: Sand mixed with a binder is now poured into the flask that forms the cope. The wooden frame on top of the upper flask is there to increase the depth of sand on the top half of the mould and thus increase the volume of metal contained within the puddle. Having a good head of molten metal assists in ensuring a complete fill.
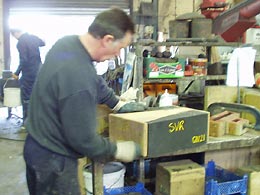
10: A completed core half about to be removed from the core-box.

12: The core can be seen in place awaiting closure of the mould.
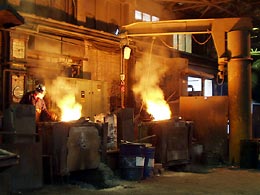
14: Steel of the correct mix is prepared in an electric furnace.
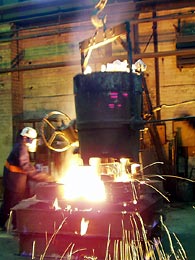
16: The pour from crucible to mould. Note full safety equipment worn by the foundry man. Molten steel is to be treated with great respect!
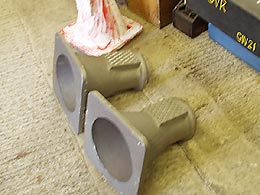
18: One very nice pair of taper-shank buffers ready for machining before being fitted to 4566. Coincidentally the pattern makers number the patterns uniquely by using their initials
followed by a sequential number. Gordon
Woodruff made these patterns, hence the GW21 appearing on
the moulding equipment. |
